First Reflection Points Acoustic Panels: The Mirror Method Guide
The best spots for first reflection points acoustic panels are the side walls, ceiling, and front wall between your speakers — locations where sound bounces directly to your ears within 15-30 milliseconds of the original signal. You can find these exact spots with nothing more than a mirror and a helper. Treating them delivers the single biggest clarity improvement for any room.
Here is the problem: most people treat walls at random. They buy a six-pack of panels, spread them out like wall art, and hope for the best. The result is a thinner wallet and a room that still sounds like a cave.
The reflections that actually damage your sound quality are invisible. They don’t arrive from behind you or from the corners. They come from the exact spots where sound skips off a wall and hits your ear before your brain has finished processing the direct sound.
You already know your room needs help. You can hear it in the muddy vocals. The collapsed stereo image. The way every video call makes you sound like you’re speaking from a parking garage.
This guide will show you how to find those invisible reflection points with the mirror trick. You’ll learn where to place panels once you find them, and which panel types work best. Treating first reflections should be your very first priority. Do this before you worry about bass traps, diffusers, or rear-wall treatment. For a broader view of room strategy, see our complete acoustic panel placement guide.
Key Takeaways
- First reflection points sit on your side walls, ceiling, and front wall — spots where speaker sound reaches your ears within 15-30ms.
- The mirror method finds these spots for free: sit in your listening position and have a helper slide a mirror along the wall until you see the speaker.
- A 2×4 ft fiberglass panel with NRC 0.85+ on each side wall is the minimum effective treatment.
- WPC wood slat panels work at first reflections if you leave an air gap behind them, though they absorb less than fiberglass.
- Treat first reflections before corners or rear walls — they cause the most perceptual damage to clarity and stereo imaging.
What Are First Reflection Points?
A first reflection point is any surface where sound from your speaker bounces once and travels directly to your ears. The path is simple: speaker -> wall -> ear.
These early reflections arrive fast. Typically, 15 to 30 milliseconds after the direct sound. Your brain doesn’t interpret them as an echo. It blends them with the original signal. That blending creates comb filtering, smears stereo imaging, and robs your audio of detail.
Think of it this way. In an open field, you hear only direct sound. Indoors, every surface becomes a secondary sound source. The copies that arrive first do the most harm because they overlap with the original before your auditory system finishes decoding it.
According to audio researcher Floyd Toole, early reflections in that 15-30ms window are the most perceptually damaging. Side-wall reflections are typically only 6-10dB quieter than the direct sound. That is loud enough to blur transients and collapse the stereo field.
You don’t need measurement gear to hear it. Play a track with a clear center vocal. If the vocal seems to wander left and right, your first reflections are fighting the direct sound. Audioholics covers the measurement approach to identifying these problems in more detail.
Why First Reflection Points Matter Most
Not all reflections are equal.
A sound that bounces off your rear wall and reaches your ears 50ms later is annoying. Your brain processes it as a distinct echo. But a sound that arrives in 20ms becomes part of the original event. It alters timbre. It distorts localization. It masks fine detail. That is why the first reflection point treatment outperforms almost every other acoustic upgrade per dollar spent.
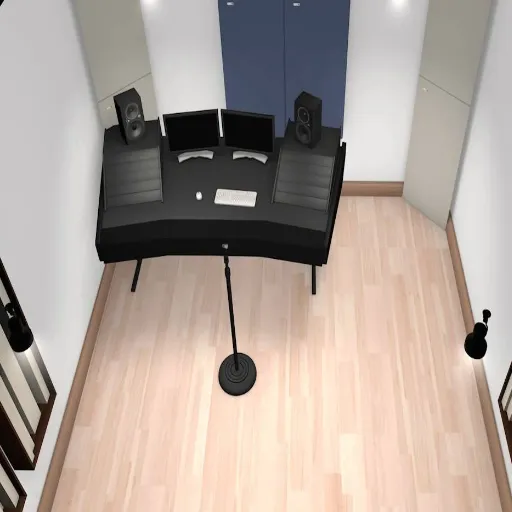
When Marcus set up his home studio, he treated the corners first. Four bass traps. Boxy sound. Muddy vocals.
The problem wasn’t low frequencies. It was the side walls. Monitor reflections were hitting his ears just 18ms after the direct signal. He moved two panels to the side-wall reflection points — the exact spots he’d later find with the mirror trick — and clarity improved immediately. The bass traps helped eventually, but only after the early reflections stopped smearing his midrange.
The priority depends on your room’s purpose. Music listening suffers from collapsed stereo imaging. Podcasting picks up hollow room tone. Video conferencing creates the “tunnel effect” that makes remote workers sound unprofessional.
In every case, the side walls are the first target. Ceiling reflections come next, especially in rooms with 8-foot ceilings where the bounce arrives roughly 8ms after the direct sound. Front wall reflections are often overlooked but highly impactful. Rear wall and corner treatment should wait until you’ve handled the first reflections.
How to Find First Reflection Points: The Mirror Method
The acoustic panel placement mirror method is the oldest, cheapest, and most reliable way to locate exact reflection points. Primacoustic and studio designers worldwide use this technique. You need a mirror large enough to show your speakers, a helper, and masking tape. Here is the step-by-step process.
Step 1: Sit in Your Listening Position
Sit exactly where you normally listen or work. This is your “sweet spot.” If you move laterally even a foot, the reflection points shift. Mark your chair position with tape so you can return to it exactly.
Step 2: Have a Helper Slide a Mirror Along the Side Wall
Your helper holds a mirror flat against the side wall at speaker height. They slowly slide it along the wall while you sit in the listening position and look at the mirror. Don’t crane your neck. Keep your head in a natural listening position.
Step 3: Mark Where You See the Speaker Reflected
The moment you see the tweeter or speaker cone reflected in the mirror, that’s the first reflection point. The mirror is showing you the exact angle that sound travels from the speaker to the wall to the ear. Mark that spot with masking tape. Repeat for the other side wall.
Step 4: Check the Ceiling Reflection Point
The ceiling reflection is found in the same way. Your helper holds the mirror overhead and slides it along the ceiling between you and the speakers. When you see the speaker reflected, mark the spot. In rooms with 8-foot ceilings, this point is usually just forward of your head position.
Step 5: Check the Front Wall
The front wall — the surface behind your speakers — also creates a reflection that reaches you after bouncing forward. Kneel or sit in your listening position and look for the speaker’s reflection in the wall between and behind the speakers. Mark this spot too.
Solo Mirror Method Tips
If you don’t have a helper, use your phone camera in selfie mode. Prop it against the wall and slide it along while watching the screen. A laser pointer aimed at the wall from your listening position can also help: the spot where the reflection hits your ear is the same geometry, though it’s harder to judge without practice.
| Common Mirror Method Mistakes | Why It Matters |
|---|---|
| Moving your head while looking | Shifts the reflection point by several inches |
| Using a mirror that’s too small | Misses the full reflection zone for larger speakers |
| Checking only one wall | Creates asymmetric treatment and unbalanced stereo |
| Ignoring the ceiling | Ceiling reflections are often the second-strongest after side walls |
| Marking a single point instead of a zone | Reflections spread across an area, not a dot |
Where to Place Panels at First Reflection Points
Finding the spot is only half the battle. You also need to cover enough area. A single small panel at the exact center point often misses the edges of the reflection zone.
Side Wall Reflection Points
For most setups, a 2×4 ft panel minimum per side is the standard recommendation. Center the panel at the marked reflection point, with the vertical center aligned to ear height when seated. If you have floor-standing speakers or a wider listening position, consider a 4×4 ft panel or two 2×4 panels stacked vertically. The goal is to intercept the entire “beam” of reflected sound, not just its center.
Panel thickness matters here. A 2-inch panel absorbs effectively down to roughly 250Hz. A 1-inch panel starts losing effectiveness around 500Hz. Since first reflections carry broadband energy, 2 inches is the practical minimum. For a deeper look at spacing throughout the room, see our guide on how far apart to space acoustic panels.
Ceiling Reflection Point
Ceiling treatment is a ceiling cloud — a panel suspended horizontally above the listening position. A 2×4 ft cloud works for single-listener setups. A 4×4 ft cloud is better for wider seating or if your ceiling is under 9 feet. In rooms with tall ceilings (10+ feet), the reflection arrives later and with less energy, so ceiling treatment becomes optional rather than critical. For a full comparison of vertical versus horizontal treatment, read our article on ceiling vs wall acoustic panels.
Front Wall Reflection Point
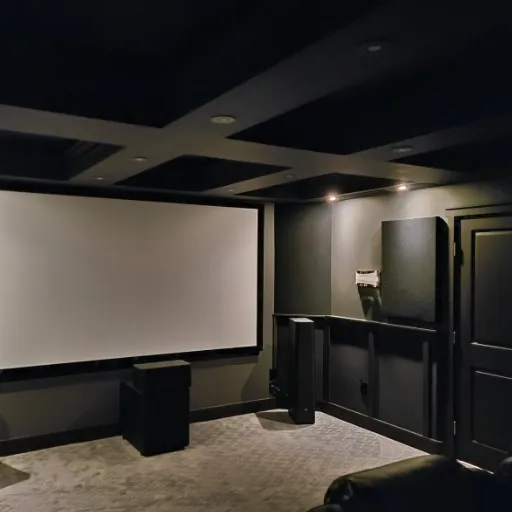
The front wall between and behind your speakers sends a reflection that arrives slightly after the side-wall bounce but still within the damaging early window. This reflection can blur center-channel dialogue in home theaters and reduce vocal precision in music rooms. A single 2×4 ft panel centered behind the speaker pair, or one panel behind each speaker, is usually sufficient.
Floor Reflection (The Forgotten One)
Hard floors create a reflection that reaches your ears from below. You can’t treat the floor with wall panels, but a thick rug between you and the speakers absorbs high-frequency bounce and reduces flutter echo. It’s the cheapest acoustic upgrade after the mirror trick itself.
Which First Reflection Points Acoustic Panels Work Best?
Not every panel performs the same at first reflection points. You need broadband absorption to tame the full spectrum of reflected energy.
Fiberglass and Fabric Panels (Best Absorption)
Fiberglass panels with a fabric wrap are the gold standard. GIK Acoustics and other leading manufacturers recommend an NRC (Noise Reduction Coefficient) of 0.85 to 0.95 for first reflection treatment. A 2-inch fiberglass panel absorbs roughly 85% of sound energy across speech frequencies.
These panels are flat, unobtrusive, and highly effective. The downside? Aesthetic. They look like studio equipment. That works fine in a studio. It may clash with a living room or home office.
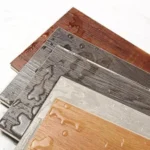
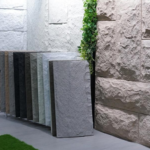
WPC and Wood Slat Panels (Aesthetic Alternative)
WPC wood slat panels are an increasingly popular choice for visible rooms. They look like architectural wall cladding while providing moderate acoustic absorption. A slat panel with an NRC of 0.50 to 0.80 won’t absorb as much as fiberglass, but it may be sufficient for multi-purpose spaces where full studio treatment isn’t needed.
The key is the air gap. WPC panels must be mounted with a gap of 1 to 3 inches behind the panel. The gap extends effective absorption lower than a flush mount would achieve. Some installers place fiberglass behind the slats, creating a hybrid system that looks like design and performs like treatment.
Acoustic Foam (Budget Option)
Foam panels are cheap and easy to install, but they’re limited to first reflection points. Most foam absorbs effectively only above 1kHz. It leaves the critical midrange — where vocals, dialogue, and most musical detail live — largely untreated. Foam is acceptable for temporary setups or if the budget is extremely tight, but plan to upgrade to fiberglass or WPC when possible.
| Panel Type | NRC Range | Best For | Limitation |
|---|---|---|---|
| Fiberglass/fabric | 0.85-0.95 | Studios, critical listening | Aesthetically plain |
| WPC wood slat | 0.50-0.80 | Living rooms, offices, visible spaces | Needs air gap; moderate absorption |
| Acoustic foam | 0.40-0.70 | Temporary or tight budgets | Weak midrange absorption |
First Reflection Points by Room Type
The mirror method works in every room, but your priorities shift depending on how you use the space.
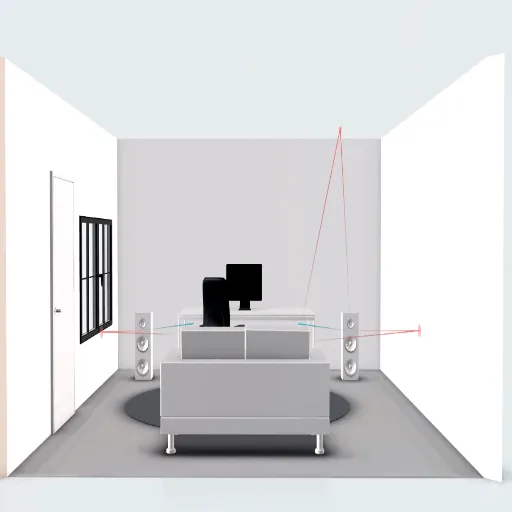
Home Music Listening Room
For two-channel stereo, symmetry is everything. The left and right side walls must be treated identically. If one wall has a window or doorway that prevents panel placement, compensate by treating the closest available area rather than leaving the wall bare. Speakers should form an equilateral triangle with the listening position, with the first reflection points falling at the same relative positions on each wall. For room-specific guidance, see our home studio acoustic panel placement article.
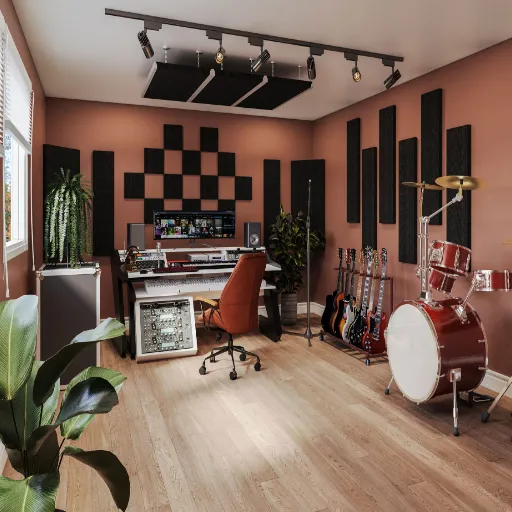
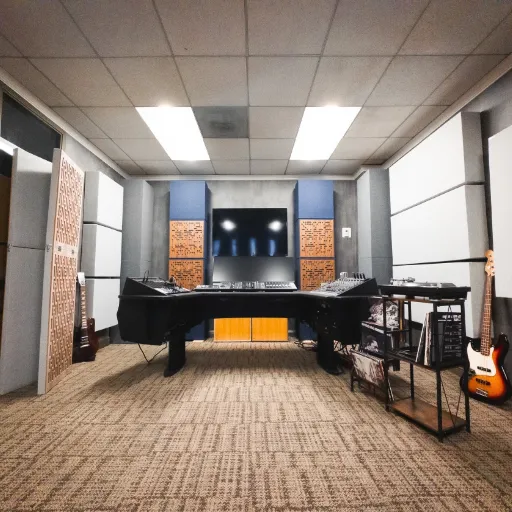
Home Studio and Podcast Room
Nearfield monitors placed 3-4 feet from your head create a compact reflection zone. The side-wall points are closer together than in a living room setup. Ceiling treatment is critical if your mic captures room tone — a ceiling cloud prevents overhead bounce from entering the microphone’s polar pattern.
Home Office and Video Conferencing Room
Video calls suffer from first reflections more than most people realize. Your webcam microphone picks up the reflected signal from your side walls and the hard surface behind your monitor. Treating the side walls with a 2×3 ft panel on each side often eliminates the “hollow” sound that makes remote workers seem unprofessional. A small panel on the front wall behind your monitor helps too.
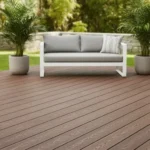
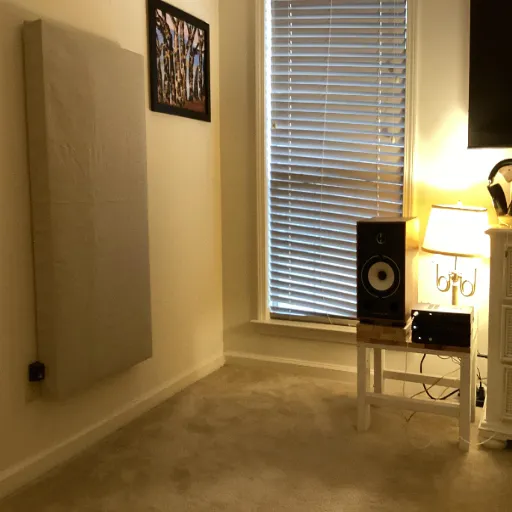
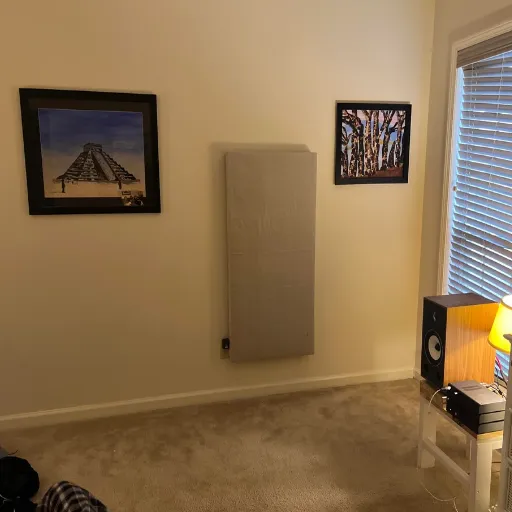
Living Room and Multi-Purpose Space
This is where WPC panels shine. You need absorption, but you also need a room that looks like a home, not a recording studio. Slat panels at the side-wall reflection points provide partial treatment while reading as design elements. Pair them with a rug on the floor and curtains over windows, and you’ll tame the worst reflections without sacrificing aesthetics.
| Room Type | First Target | Second Target | Panel Recommendation |
|---|---|---|---|
| Music listening room | Side walls (symmetrically) | Ceiling cloud | 2×4 ft fiberglass per side |
| Podcast room | Side walls | Ceiling cloud | 2×4 ft + cloud above mic |
| Home office/video calls | Side walls | Front wall behind monitor | 2×3 ft panels minimum |
| Living room | Side walls | Floor (rug) | WPC slat panels with air gap |
Common Mistakes With First Reflection Points Acoustic Panels
Even after finding the right spots, people get the execution wrong. Here are the errors we see most often.
| Mistake | Why It Happens | The Fix |
|---|---|---|
| Treating only one side wall | Doorways, windows, or furniture block one side | Treat both sides equally; compensate with the nearest available wall space |
| Using panels that are too small | Buying convenient 1×1 ft packs instead of proper sizes | Use a 2×4 ft minimum to cover the full reflection zone |
| Ignoring the ceiling | Hard to reach; out of sight | Install a 2×4 ft ceiling cloud; it’s the second-most impactful treatment |
| Mounting foam panels flush | Following the package instructions literally | Add an air gap behind foam, or upgrade to fiberglass or WPC |
| Forgetting the front wall | Focus falls on the side walls and corners | Add one 2×4 ft panel behind the speaker pair |
| Placing panels too high or too low | Measuring from standing height instead of seated | Align the panel center to your seated ear height |
How to Test if the First Reflection Treatment Worked
You don’t need measurement software to hear the difference, though software helps. Start with these simple tests.
| Test | What to Do | What You’ll Hear (Untreated) | What You’ll Hear (Treated) |
|---|---|---|---|
| Clap test | Clap sharply from the listening position | Ringing, metallic flutter echo | Dry, dead decay with little ring |
| Stereo imaging test | Play music with a strong center vocal and panning | Vocal wanders; instruments blur together | Vocal locks to center; left/right separation is clear |
| Mono check | Collapse playback to mono | Mono image sounds different from stereo | Mono and stereo images stay consistent |
| Frequency sweep (optional) | Use Room EQ Wizard, check 200Hz-4kHz | Severe dips and peaks from comb filtering | Smoother response; severe notches soften |
Pro tip: Run the clap test before and after treatment. The difference is immediate and dramatic. Most people are shocked by how much ring existed in their room before the panels went up.
Conclusion
Installing the first reflection points acoustic panels is the highest-impact, lowest-cost acoustic treatment you can implement. The mirror method costs nothing. A pair of properly placed panels costs less than a mid-range microphone or a set of speaker stands. Yet the clarity improvement rivals equipment upgrades that cost ten times as much.
Start this weekend. Sit in your listening position. Grab a mirror. Find those reflection points on your side walls, ceiling, and front wall. Mark them, cover them, and listen again. The difference will surprise you.
Once you’ve tamed the first reflections, the next logical step is corner treatment. Low-frequency buildup in room corners creates the boom and mud that panel placement alone can’t fix. Read our bass trap placement guide to complete your room’s acoustic foundation. And if you want the full picture of how every treatment type fits together, return to our full acoustic panel placement strategy.
Your room is already trying to tell you where the problems are. You just need a mirror to see them.
Categories:
Blog
Related Articles