Acoustic Foam For Podcast Room: What You Actually Need
Acoustic foam for podcast room is enough for most shows. If you record spoken voice in a spare bedroom or a treated corner, a set of quality 2-inch foam panels placed correctly will remove the echo and boxiness that give away a home recording.
Foam absorbs strongly in the 500 Hz to 4 kHz band, which is exactly where speech intelligibility lives. What it can’t do is fix boomy bass, block outside noise, or make a music mix translate. Knowing that line is the whole decision.
So if you’ve been staring at a 96-pack on a product page wondering whether you need it, this guide settles it. You’ll get the real absorption numbers, a defensible panel count for your setup, the placement order that matters, budget builds from free to serious, and the five signals that mean it’s time to switch to acoustic panels. For the full material-by-material breakdown, see our complete acoustic panels vs acoustic foam comparison.
Key Takeaways
- For spoken voice, foam is usually enough: quality foam absorbs about 0.55 at 500 Hz, 0.80 at 1 kHz, and 0.90 at 2 kHz, the exact band that makes speech sound clear
- Foam absorbs only about 0.08 at 125 Hz, so it can’t fix a boomy voice, room modes, or keyboard rumble. That work belongs to bass traps
- A starter build of 12 two-inch panels behind and beside the mic delivers roughly 60 to 70% of the benefit of full treatment
- Panel counts by setup: 6 to 12 for a solo desk host, 12 to 24 for a treated room, 18 to 32 for a two-host interview show, 24 to 48 for a small booth
- Foam costs about $2 to $5 per square foot and needs replacing every 3 to 6 years; broadband panels run $8 to $15 per square foot and last 15 to 20
Is Acoustic Foam Enough for a Podcast Room?
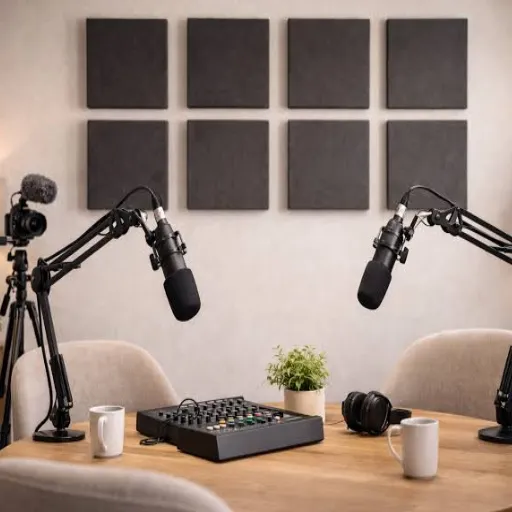
Yes, for a solo or two-host show in a normal room, acoustic foam is a legitimate answer. A podcast is a voice problem, not a music problem. Speech carries most of its useful energy between roughly 500 Hz and 4 kHz, and foam is strongest across that range. That’s why foam alone can turn a boxy bedroom into a room that sounds broadcast-clean.
The honest answer has three exceptions. Foam isn’t enough when your voice sounds boomy or muddy rather than echoey, because that’s low-frequency energy foam ignores.
It also isn’t enough in a very small room under about 100 square feet, where standing waves create a narrow, resonant tone. And it stops being enough the moment you start recording instruments or mixing music, where you need a flat, balanced response rather than echo control.
If you’re recording music, the answer flips entirely. Our guide to foam vs panels for home studio explains why musicians need the low-mid control that only broadband panels provide.
Want a second opinion on your specific room? Send us your dimensions and we’ll tell you honestly whether foam will do the job, before you spend anything. Get a free acoustic sizing consultation →
This is the point most buying guides skip. Foam isn’t a compromise for podcasters. It’s the correct tool.
What Acoustic Foam Can and Cannot Fix in a Podcast Room
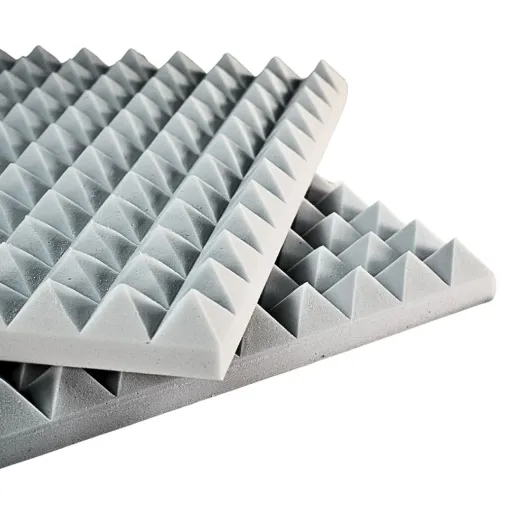
Foam is an open-cell polymer, usually polyurethane or melamine, molded into wedges, pyramids, or an egg-crate profile. It absorbs sound by letting air move through the cells and converting that motion into heat.
Within its range, it works well. Outside its range, it does nothing at all.
What Foam Fixes Well
Foam removes flutter echo, the rapid ringing between two bare parallel walls. It kills slapback, the sharp bounce you hear when a hard surface throws your voice straight back at the mic.
It also softens harsh consonants and takes the edge off an empty room. If your recordings sound echoey, hollow, or “roomy,” foam is the fix.
What Foam Cannot Fix
Foam doesn’t absorb bass. Independent testing shows foam makes very little difference below 250 Hz, which is what GIK Acoustics found when they tested foam against rigid traps.
It doesn’t block sound from leaving or entering the room, so a loud neighbour or street noise needs soundproofing, not treatment. It won’t remove keyboard clatter, a noisy fan, or a humming laptop. And it can’t rescue a bad mic position.
Here is the data that explains all of it. These are average absorption coefficients for foam, drawn from AcousPlan’s open-cell absorber data:
| Frequency | 125 Hz | 250 Hz | 500 Hz | 1 kHz | 2 kHz | 4 kHz |
|---|---|---|---|---|---|---|
| Average foam absorption | 0.08 | 0.25 | 0.55 | 0.80 | 0.90 | 0.95 |
| Average NRC | ~0.65 |
Read the top row left to right and you can see the shape of the problem. At 125 Hz, foam absorbs almost nothing. By 1 kHz it’s absorbing 80% of the energy that hits it.
Speech lives in the strong part of that curve, which is why foam suits podcasts. Music lives across the whole curve, which is why it doesn’t. Our breakdown of what acoustic foam can and cannot do covers the underlying physics if you want the longer version.
Foam Thickness and Type: What Works for Voice
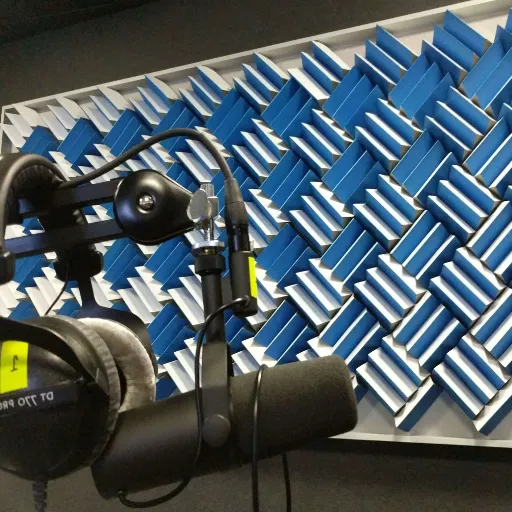
Acoustic foam for podcast room comes in three thicknesses that matter, and thickness decides how deep into the frequency range your foam reaches. Buying the wrong thickness is the most common way podcasters waste money.
1-Inch Foam: High Frequencies Only
One-inch foam handles the top end, roughly 1 kHz and up. It will reduce a bright, ringing room and take the harshness off a hard ceiling.
It won’t touch the 250 to 500 Hz range that makes a voice sound chesty or boxy. As your only treatment, 1-inch foam usually disappoints.
2-Inch Foam: The Podcast Baseline
Two-inch foam is the practical starting point for spoken voice. It reaches meaningfully lower than 1-inch and covers the speech band properly.
If you buy one thing, buy 2-inch. It’s the difference between a room that sounds treated and a room that sounds muffled at the top and muddy underneath.
3 to 4-Inch Foam and Bass Traps: When You Need More
Thicker foam buys you a little more low-mid absorption, but with diminishing returns. If your problem is genuine boom, no thickness of flat foam will solve it.
That’s a bass trap job, and foam corner blocks are largely decorative. We cover the alternatives in our guide to bass trap placement.
Pyramid vs Wedge vs Egg-Crate
Pyramid and wedge profiles both increase the effective surface area and perform similarly. Egg-crate is usually the cheapest and works well for high-frequency cleanup.
For a wall the camera will see, pyramid foam reads as intentional; egg-crate reads as budget. On a ceiling or a hidden surface, nobody will know the difference, so let the visible wall decide.
One specification worth knowing: a well-known 2-inch studio wedge from Auralex carries an NRC of 0.80, a Class A fire rating, and a lifespan of 10 years or more. That’s the standard to aim for when you compare cheap foam packs. Fire behaviour matters more than most podcasters expect, and it’s worth checking before you cover a wall.
How Many Foam Panels Does a Podcast Room Need?
Most buying guides give you a number without telling you where it came from, which is why you’ll see the same small room quoted as needing both 36 panels and 128. Those figures come from mixing up “panel count” with “coverage percentage.”
The rule that fixes it is simple: when you’re planning acoustic foam for podcast room, one 12 by 12 inch panel covers 1 square foot. Here is a defensible starting point by setup.
| Setup | Panels (12″ x 12″ foam) | Notes |
|---|---|---|
| Solo desk podcaster, treating the wall behind the mic | 6 to 12 | Delivers 60 to 70% of the benefit of full treatment |
| Solo podcaster, plus side walls and ceiling | 12 to 24 | The standard small-room answer |
| Dual host or interview show | 18 to 32 | You’re treating two speaking positions |
| Small dedicated booth (under 100 sq ft) | 24 to 48 | Pair with corner bass traps |
Aim to cover 20 to 30% of your wall and ceiling surface. Above roughly 40%, the room starts to sound unnaturally dead, and your recordings lose the small amount of liveliness that keeps a voice from feeling flat. Fewer panels in the right place beat more panels scattered everywhere.
Priya learned this the hard way. She bought a 12-pack for her spare bedroom, spread the panels evenly across three walls, and heard almost no difference on playback.
Convinced she needed more, she ordered 96 panels and covered one wall floor to ceiling. Her recordings now sounded dead and muffled, and the original echo was still there. The fix cost nothing. She moved the panels into a tight cluster behind her mic, added two on the ceiling above her chair, and the room finally sounded right.
If you’d rather work from your room’s actual dimensions than a table, our acoustic panel coverage calculator does the arithmetic for you.
Where to Put Acoustic Foam in a Podcast Room
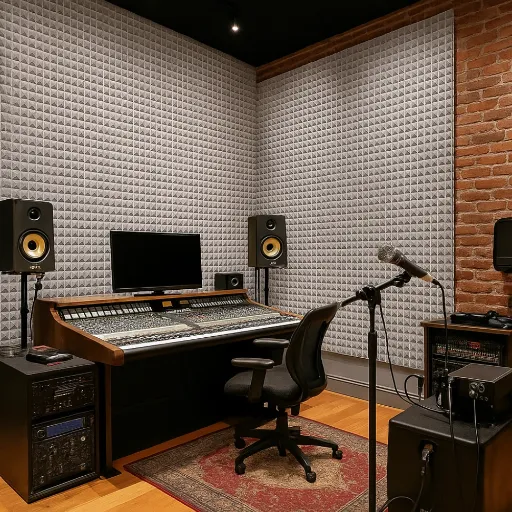
Placement matters more than quantity, and the order below is a priority list, not a suggestion. Work down it until your recordings sound right.
Priority 1: The wall behind your microphone. This is the single biggest win. Cover a 4 by 4 foot area at mouth height when you’re seated. Direct reflections off this wall bounce straight back into the mic, so treating it alone can deliver most of the improvement you’ll ever hear. If you buy one pack of foam, put all of it here.
Priority 2: Side wall first reflection points. These are the spots where sound from your mouth bounces off a side wall and into the mic. The mirror trick finds them fast: have someone slide a mirror along the wall while you sit in your recording position. Wherever you can see the mic in the mirror is a reflection point. Cover it, and treat both sides evenly or your voice will sound lopsided.
Priority 3: The ceiling above your recording position. Ceilings are the most commonly skipped surface and one of the most audible. Hard drywall above your head creates a sharp slap on plosive consonants. A 3 by 3 foot treated section is usually enough.
Priority 4: The wall behind you. Lower priority for a solo host, but it matters for two-host and interview setups, where it reflects one voice toward the other mic.
One place to avoid: corners. Flat foam in a corner does almost nothing, because bass pressure builds there and foam can’t absorb it. Corners are for bass traps. For the full zone-by-zone version, including how the layout changes for solo, dual-host, and on-camera setups, see our podcast room acoustic panel placement guide and the first reflection points walkthrough.
Marcus hosts a two-person interview show from a converted dining room. His solo recordings sounded fine, but every conversation came out sounding like a phone call.
The mic wasn’t the problem. It was the reflection path between the two hosts, with each voice bouncing off the wall behind the other. Treating the wall behind both positions, not just behind his own mic, fixed it. Eighteen panels and two corner traps were enough.
Ready to get the mounting right the first time? Our step-by-step guide to installing acoustic foam panels covers surface prep, adhesives, and the mistakes that make panels fall off within a month.
Podcast Foam Setups by Budget
You can improve a podcast room at almost any budget. Here’s what each tier actually buys.
$0 to $50: Free wins first. Before you buy anything, change how you record. Move to a dynamic mic held close to your mouth, because a close mic hears far less room. Put the mic on a boom arm so it’s off the desk and no longer picks up keyboard thumps.
Record away from the corner rather than into it. Then add soft furnishings: a rug, heavier curtains, an upholstered chair, a bookshelf. A lived-in room beats an empty hard room, and sometimes this alone is enough.
$100 to $150: The starter kit. The starter kit. This is where most podcasters should begin. Twelve 2-inch foam panels run roughly $35, and two corner bass traps add about $80. That’s around $115 for a dramatic improvement, and it’s the build we recommend to almost every new solo host.
$300 to $600: The hybrid. Put broadband panels at your first reflection points and corners, then use foam for the back wall and ceiling flutter. This is the best value upgrade path because it adds the low-mid control foam lacks without treating the whole room with expensive panels.
$1,000 and up: Full treatment. Full coverage plus proper bass trapping takes you to a proper booth, with a reverberation time of about 0.2 to 0.3 seconds. Broadcast and podcast booths target that range because it makes a voice sound dry and present. A worked booth calculation shows 50 mm foam on the walls and ceiling plus mineral wool trapping reaching 0.12 seconds in a small booth. It’s more than most home podcasts need.
Worth doing the lifetime math before you commit to foam. Foam costs about $2 to $5 per square foot and typically needs replacing every 3 to 6 years as it oxidizes and crumbles.
Broadband panels run $8 to $15 per square foot but last 15 to 20 years. Over a decade, replacing foam can cost more than installing panels once.
Gaming Rooms and Streaming Setups: The Same Rules Apply
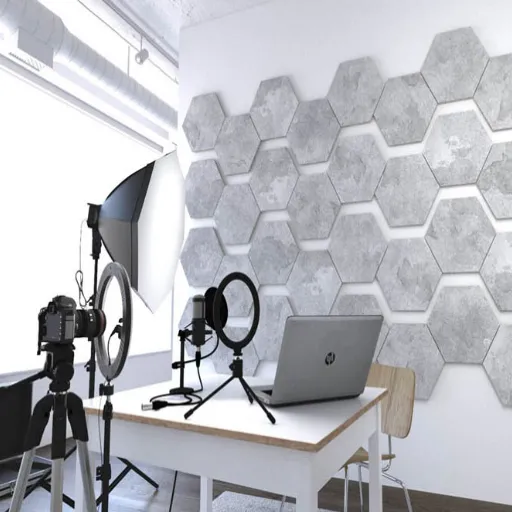
Gaming and streaming are the same acoustic problem as podcasting, and foam is just as appropriate. Your viewers hear exactly what your microphone hears, so echo and boxiness are more obvious than in a podcast, not less.
Two things change. First, the aesthetic matters, because a wall is usually on camera. Pyramid foam on the visible wall looks deliberate and doubles as a backdrop. Save the cheaper egg-crate for the ceiling and hidden surfaces.
Second, the noise sources are different. Mechanical keyboards, case fans, and headset audio all reflect off hard surfaces near the mic. Position panels to catch those reflections, and move the mic closer to your mouth so it hears less of the room.
Dana streams four nights a week from a bedroom corner. Her viewers kept mentioning how much they could hear her mechanical keyboard between sentences.
She’d already treated the wall behind her, so she added a small foam cluster on the wall behind and above the keyboard side and moved her mic onto a boom arm two inches closer to her mouth. The keyboard noise dropped out of the mix. The extra spend was about $60 on top of foam she already owned.
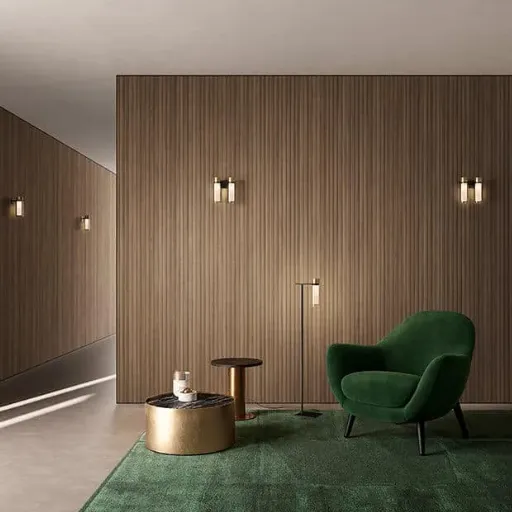
If the treated wall needs to look finished rather than studio-utility, that’s the one case where a designer material beats foam. We compare the options in wood slat acoustic panels vs foam.
When to Upgrade From Foam to Acoustic Panels
Foam is the right answer for voice, but five signals mean you’ve outgrown it.
- Your voice sounds boomy or muddy, not echoey. That’s low-mid buildup foam never touched. You need broadband absorption and corner traps.
- You start recording music or instruments. Once tone and balance matter, not just intelligibility, you need a flat response.
- You need isolation from the neighbours. That’s soundproofing, which is mass and sealing, not absorption. No amount of foam helps.
- You need fire-code compliance for a commercial space. Cheap foam often fails building codes. Our acoustic foam fire rating guide explains what to specify.
- The wall is on camera and has to look designed. PET felt and wood slat panels absorb well and finish a room.
Frequently Asked Questions
Is acoustic foam good enough for podcasting?
For spoken voice, yes. Foam absorbs strongly in the 500 Hz to 4 kHz range where speech intelligibility lives, which is why it removes the echo that makes home recordings obvious. It isn’t enough if your voice sounds boomy or if you also record music.
How many acoustic foam panels do I need for a podcast room?
Start with 6 to 12 two-inch panels on the wall behind your mic for a solo desk setup. A treated room needs 12 to 24, a two-host interview show 18 to 32, and a small booth 24 to 48. One 12 by 12 inch panel covers 1 square foot.
Where should I put acoustic foam in a podcast room?
Priority order: the wall behind your microphone, then the side-wall first reflection points, then the ceiling above your recording position, then the wall behind you. Avoid corners, which need bass traps rather than flat foam.
Does acoustic foam soundproof a podcast room?
No. Acoustic foam absorbs sound inside the room, so recordings sound cleaner, but it doesn’t block noise from passing through walls, doors, or windows. Blocking sound requires mass, sealing, and structural changes.
What thickness of acoustic foam is best for voice recording?
Two-inch foam is the practical baseline for podcasts because it covers the speech band properly. One-inch foam only handles the top end. Thicker foam adds little extra useful absorption for voice.
Do I need bass traps in a podcast room?
Only if your voice sounds boomy or the room has an obvious low-frequency resonance. Foam absorbs about 0.08 at 125 Hz, so it can’t fix bass problems. Two corner traps handle most small-room cases.
Is acoustic foam good for a gaming or streaming setup?
Yes. Streaming and gaming have the same voice-intelligibility problem as podcasting, plus on-camera considerations. Pyramid foam works well on the visible wall, and cheaper profiles are fine for ceilings and hidden surfaces.
Can I use egg cartons instead of acoustic foam?
No. Cardboard cartons are flammable, absorb almost nothing below the high frequencies, and offer no fire rating. Foam is inexpensive enough that there’s no reason to substitute.
The Bottom Line
Acoustic foam for podcast room isn’t a budget compromise. It’s the correct choice for spoken voice, as long as you buy 2-inch foam, place it behind the mic first, and accept that it won’t fix bass.
Use the table below to find your setup, then start with the free wins before you spend anything.
| Your setup | Verdict | Panels (12″ x 12″) |
|---|---|---|
| Solo podcast, voice only | Foam is enough | 6 to 12 |
| Video podcast, on camera | Foam, pyramid for the visible wall | 12 to 24 |
| Dual host or interview | Foam plus two corner traps | 18 to 32 |
| Voiceover or audiobook | Foam, 2-inch minimum | 12 to 24 |
| Gaming or streaming | Foam | 6 to 12 |
| You also record music | Panels, not foam | See the home studio guide |
If you’re kitting out a studio, a podcast network, or a commercial build with more than one room, buying foam and panels in volume changes the math. We supply acoustic foam, PET felt, and wood slat panels factory-direct, and we’ll size the treatment to your room before you order.
Request free samples and a bulk quote →
Start with the wall behind your mic. That one change is where most of your improvement lives.
Categories:
Blog
Related Articles