How to Install WPC Deck Tiles: A Step-by-Step Guide for 2026
How to install WPC deck tiles: clean and level the surface, acclimate the tiles 24–48 hours, dry-lay from a visible corner, press interlocking edges together, cut edge pieces to fit, and leave a 5–10 mm expansion gap around walls and fixed objects. Most small patios or balconies take 1–3 hours.
Maya learned this the hard way. She ordered 40 m² of interlocking WPC deck tiles for a rooftop lounge in Lisbon, laid them straight from the delivery pallet, and woke up two weeks later to find the outer rows had buckled against the parapet wall. The base had been flat, the clicks had felt tight, but she had skipped acclimation and left no expansion gap. A Saturday’s work became a Sunday redo.
This guide shows you how to avoid that outcome. Whether you are covering a concrete balcony, refreshing a patio, or preparing a resale display for customers, you will get a complete workflow — not just the steps, but the decisions that keep a tile floor flat and the warranty intact.
Key Takeaways
- Interlocking WPC deck tiles are a floating floor system; screws, glue, and nails are usually unnecessary.
- The base must be flat, clean, well-drained, and structurally sound before installation starts.
- Leave a 5–10 mm expansion gap at walls, railings, and fixed objects to prevent buckling.
- Acclimate tiles on-site for 24–48 hours so the material adjusts to local temperature and humidity.
- A small balcony or patio can usually be finished in 1–3 hours with basic hand tools.
If you want the broader picture before diving into how to install WPC deck tiles, see our complete modular WPC decking buyer’s guide.
1. WPC Deck Tiles vs. WPC Decking Boards
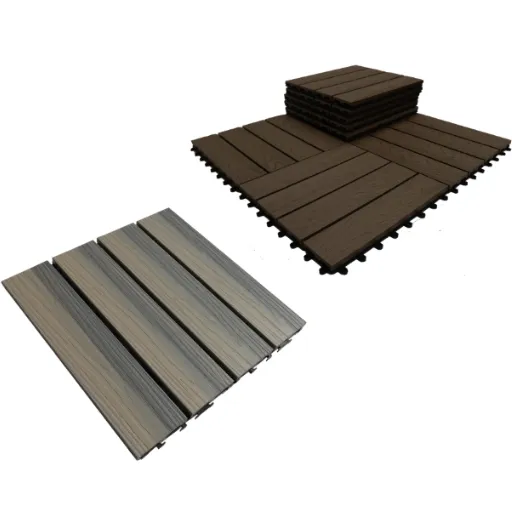
Interlocking WPC deck tiles and traditional WPC decking boards look similar, but they install differently. Tiles are typically 300 × 300 mm modules with a plastic interlocking grid underneath. They sit on top of an existing surface and click together like a floating floor. Boards are longer planks that fasten to a joist substructure with clips or screws.
This distinction matters because many people searching for how to install WPC deck tiles land on guides that only cover boards. The wrong prep leads to callbacks, wasted material, and unhappy customers.
Tiles work best when:
- You want a fast, reversible surface
- The base is already concrete, stone, or a solid deck
- You are covering a balcony, rooftop, patio, or courtyard
- The project is a rental, temporary display, or seasonal refresh
Boards work better when:
- You are building a raised or permanent deck
- The area is large and needs a continuous span
- You want hidden fasteners and a built-in fascia system
Tom, a contractor in Sydney, uses tiles for apartment balconies because they can be lifted if the body corporate changes the rules. He uses boards for freestanding backyard decks because they handle larger spans and heavier furniture loads.
If your project sits near water or needs extra moisture protection, our guide to waterproof WPC deck tiles explains what cap layers and co-extrusion do for durability.
2. Tools and Materials You Will Need
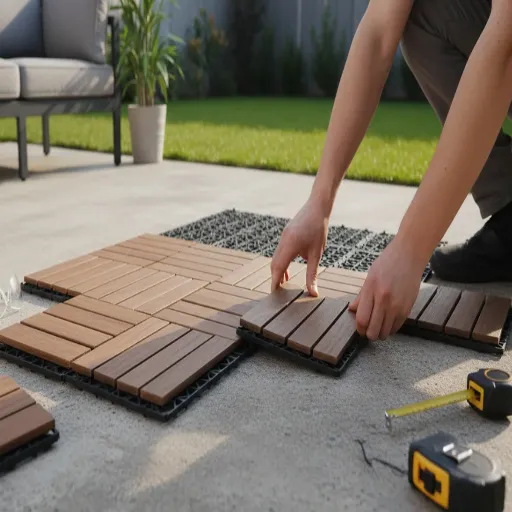
Most WPC deck tile projects need only basic hand tools. The interlocking system does the fastening for you, which is why DIY WPC deck tiles have become popular for weekend renovations.
Essential tools
- Tape measure
- Carpenter’s pencil or chalk line
- Spirit level
- Rubber mallet
- Carpenter’s square
Cutting tools
- Jigsaw or circular saw with a fine-tooth blade
- Utility knife for scoring thin tiles
Safety gear
- Safety glasses
- Work gloves
- Dust mask when cutting composite material
Optional materials
- Edge trim or transition strips
- Drainage mat for balconies and rooftops
- Weed barrier and compacted base for ground-level installs
A fine-tooth blade matters. Coarse wood blades can chip the cap layer and leave a rough edge that is visible along walls. Carbide-tipped blades with 40–60 teeth usually give the cleanest cut.
3. Prepare the Surface
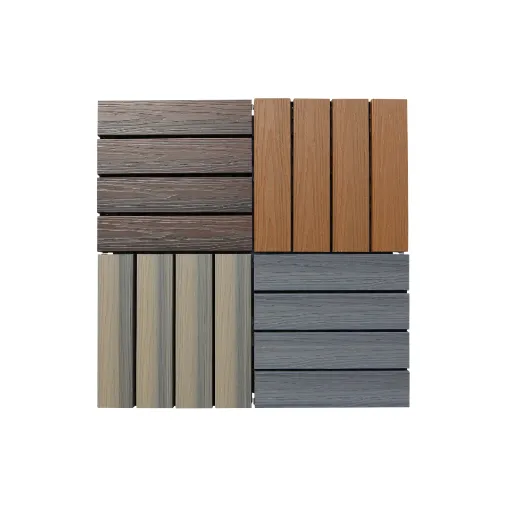
The surface is the real foundation. Even the best tiles will rock, separate, or buckle if the base is uneven, soft, or waterlogged.
Concrete, stone, or ceramic tile
WPC deck tiles on concrete are the most common residential and commercial application. Sweep the area thoroughly. Remove loose paint, oil stains, and debris. Check for cracks wider than 5 mm and patch them. The surface should be flat within 3 mm over any 2-meter span. If water pools after rain, add a slight slope or improve drainage before laying tiles.
Existing wood deck
WPC deck tiles over an existing deck are a fast way to refresh weathered boards without a full rebuild. Inspect for rot, loose boards, and protruding nails. Replace damaged boards and hammer or screw down anything that sticks up. If the gaps between boards are wider than 10 mm, add a plywood or cement-board overlay so the tile grid has continuous support.
Grass, soil, or gravel
Loose ground is the riskiest base. We do not recommend installing directly on grass or soil. If you must, remove the topsoil, lay a weed barrier, add 50–100 mm of compacted hardcore, and finish with a leveling layer of sharp sand or fine gravel. Even then, the tiles may shift over time.
Balconies and rooftops
Check the weight load with the building engineer or strata manager if the area is elevated. Do not block drainage outlets. Lay a drainage mat under the tiles if the space has frequent standing water. On rooftops, a 1–2% slope away from the building is ideal.
A hotel project in Dubai skipped the drainage mat and found algae growing under the tiles within six months. The fix was simple — lift the tiles, install a permeable mat, and relay — but it cost a weekend of labor that could have been avoided.
For a balanced view of what can go wrong with these products, read our notes on WPC deck tiles disadvantages.
4. Acclimate and Plan the Layout
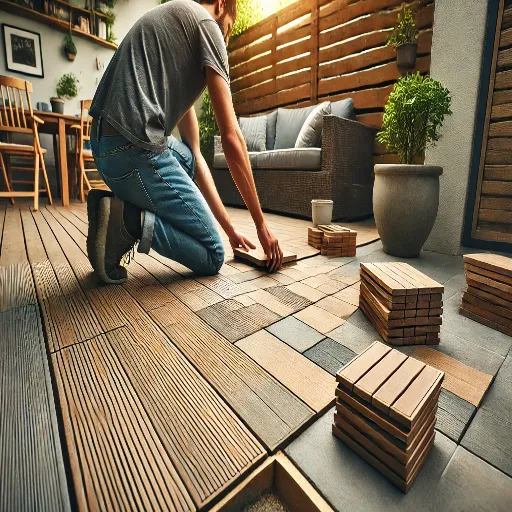
WPC expands and contracts with temperature and humidity. Tiles that have been in a hot shipping container need time to settle to local conditions.
Acclimation steps
- Open the boxes and spread the tiles loosely in the installation area.
- Leave them for 24–48 hours, out of direct rain.
- Keep them away from direct sun if the surface gets extremely hot.
While the tiles acclimate, plan the layout. Start from the most visible corner or the edge closest to the main entrance. Dry-lay a few rows without clicking them fully. Check that cut pieces will not end up as narrow slivers against walls.
Layout patterns
- Parallel: All tiles run the same direction. Fastest and most common.
- Checkerboard: Alternate tile directions for visual texture.
- Border: Run a frame of contrasting tiles around the perimeter.
For a 4 × 5 m patio, a parallel layout usually means one or two cut rows against the far wall. A border pattern adds cutting but gives a more finished look.
5. Install the First Tile Row
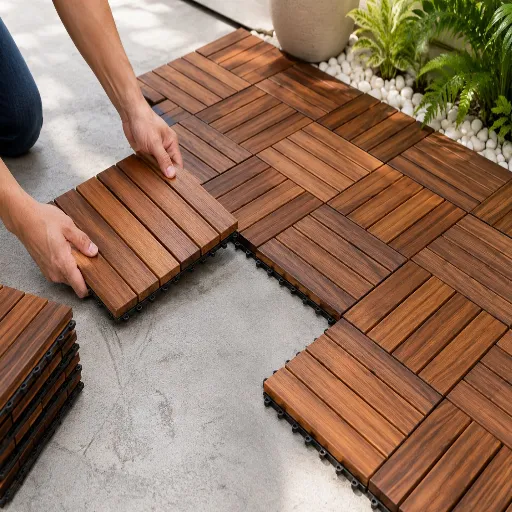
Begin in the corner you identified during layout. Place the first tile square to the space. Use a carpenter’s square to confirm the angle. If the first tile is even slightly off, the error grows with every row.
Press the second tile into the interlocking edge of the first. Most systems click together by aligning the tabs and pushing down. If the connection feels tight, tap the edge gently with a rubber mallet. Do not hammer hard — the plastic grid can crack.
Check alignment every three or four tiles. A string line or chalk line helps keep long rows straight on large areas.
6. Lock in the Field Tiles
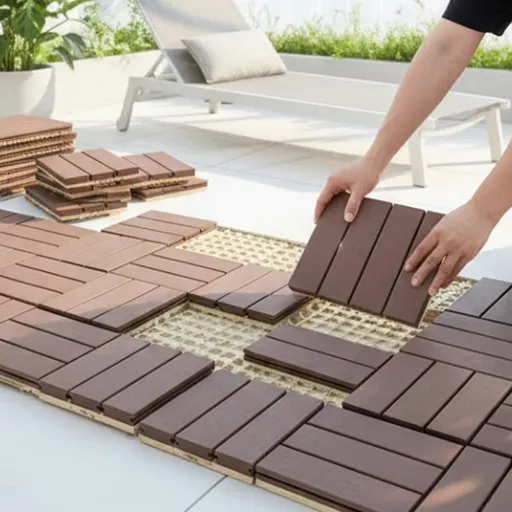
Continue across the area one row at a time. Work from the starting corner toward the opposite wall. Keep the seams tight but do not force tiles together. If one tile sits higher than its neighbor, lift it and reseat it rather than tapping it flat.
For rooftop or balcony installs, leave drainage channels clear. Do not push tiles hard against drains, posts, or walls. A 5–10 mm gap is usually enough, but follow the manufacturer’s specification if it differs.
When you reach the opposite wall, measure the remaining space. Cut tiles to width and click them into place. Cut from the underside or edge whenever possible to keep the top face clean.
7. Cut and Fit Edge Pieces
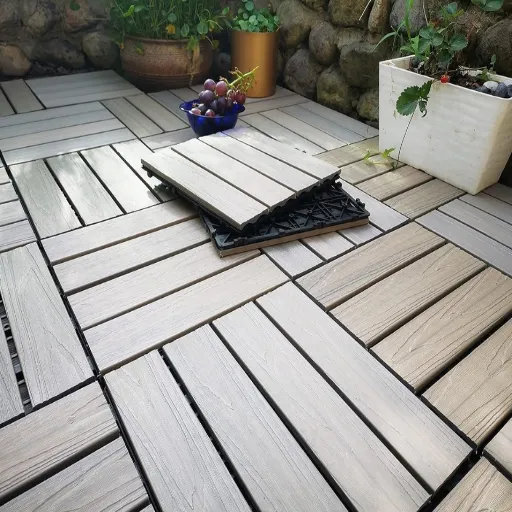
Measure the gap at the wall, subtract the required expansion gap, and mark the tile. Cut with a fine-tooth blade. For straight cuts, a circular saw with a guide is fastest. For notches around posts or pipes, a jigsaw is easier.
Cutting tips
- Mark on the back or edge of the tile, not the face.
- Support the tile firmly so the cut line does not vibrate.
- Wear a dust mask — WPC dust is finer than wood dust.
- File or sand the cut edge lightly if it feels rough.
Place the cut edge against the wall where it will be hidden by trim or furniture. The factory edge should face the room.
8. Add Edge Trim and Transitions (Optional)
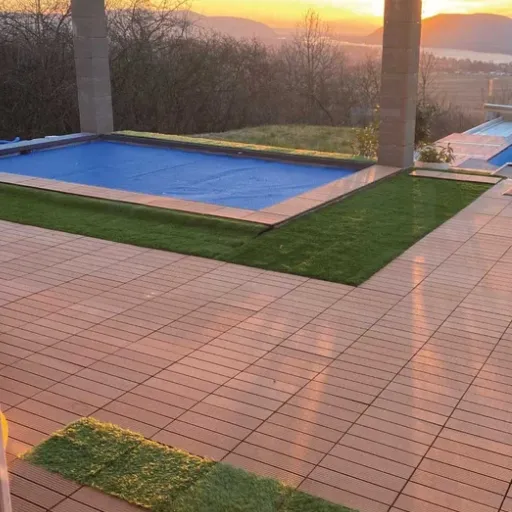
Edge trim gives the installation a finished look and protects the cut edges. Options include:
- Aluminum L-profile: Durable, modern, good for commercial spaces.
- Matching WPC trim: Blends with the tiles, ideal for residential projects.
- Rubber transition strip: Best where tiles meet another flooring type.
Secure trim into the base, not into the tiles themselves. The tiles must remain free to expand and contract. If you screw trim through a tile, you lock the floating system and risk buckling.
9. Final Checks and First Maintenance
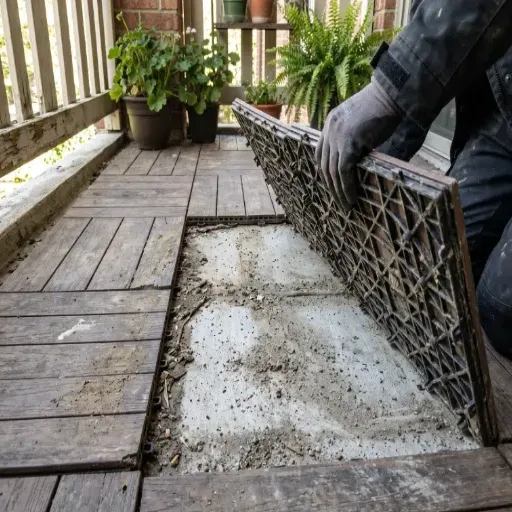
Walk the finished surface. Any tile that rocks has uneven support underneath. Lift it, level the base, and relay it. Check that gaps around walls and drains are clear.
After installation
- Sweep the surface to remove cut dust and debris.
- Wipe with a soft brush and mild soap if needed.
- Avoid pressure washing for the first week so the tiles settle.
Regular maintenance is minimal. Sweep weekly, wash with soap and water every few months, and check interlocks once a year. Move heavy planters occasionally so the surface wears evenly.
10. Common WPC Deck Tile Installation Mistakes
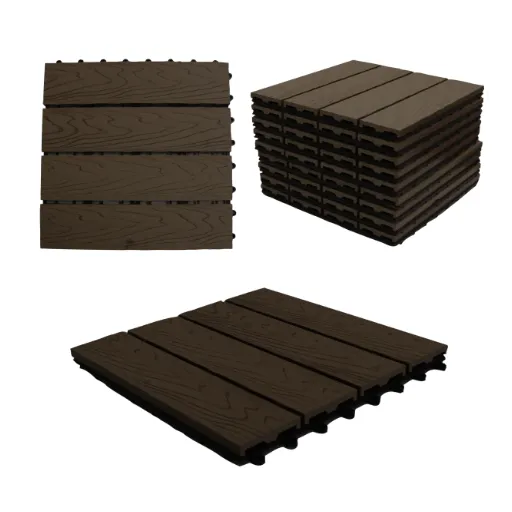
Even experienced installers make these errors. Avoid them and your floor will last much longer.
- Skipping acclimation — Tiles installed straight from the box can expand or contract after laying.
- No expansion gap — A tight perimeter traps movement and causes buckling.
- Uneven base — Rocking tiles crack and separate over time.
- Blocking drainage — Water pooling under tiles leads to mold, algae, and odor.
- Wrong blade — Coarse blades chip the cap layer and leave visible damage.
- Over-tight interlocks — Forcing tiles together can crack the plastic grid.
- Ignoring weight limits — Rooftop installs need structural approval.
Lily, a landscape designer in Toronto, always budgets an extra 5% of tiles for cutting mistakes and replacements. On a 50 m² project, that is only two or three extra boxes, and it saves a second delivery charge.
FAQ
Can I install WPC deck tiles myself?
Yes. Most residential projects are DIY-friendly. You need basic hand tools, a clean base, and attention to expansion gaps.
What tools do I need to install WPC deck tiles?
A tape measure, pencil, level, rubber mallet, and saw are usually enough. Safety glasses and gloves are essential when cutting.
Can WPC deck tiles go on grass?
Not directly. Grass and loose soil move, shift, and retain moisture. Use a compacted hardcore base and weed barrier if you must install at ground level.
Do I need screws or glue?
Usually no. The interlocking grid holds tiles together. Edge trim may need screws into the base, but never through the tiles.
How much expansion gap do I need?
Leave 5–10 mm around walls, railings, posts, and drains. Follow the manufacturer’s instructions if they specify a different value.
Can I install over an existing deck?
Yes, if the deck is structurally sound, level, and free of rot or protruding fasteners. Wide gaps may need an overlay first.
How long does installation take?
A small balcony takes 1–2 hours. A 25 m² patio takes 2–4 hours. Larger terraces with cutting and trim may take a full day.
How do I clean WPC deck tiles?
Sweep regularly and wash with mild soap and water. Avoid harsh chemicals and pressure washing at close range.
Conclusion
Installing WPC deck tiles is one of the fastest ways to transform an outdoor surface. The process is simple — prepare the base, acclimate the tiles, plan the layout, click them together, and leave room for expansion. The details that feel small, like a drainage mat or a 5 mm wall gap, are what separate a floor that lasts five years from one that lasts twenty-five.
If you are sourcing tiles for a commercial project, resale, or large installation, make sure your supplier provides clear acclimation and expansion specifications. Contact our team to request installation specs, product samples, or a wholesale quote for your next project.
Categories:
Blog
Related Articles